DC Power Supply – Dead Handset Diagnosis
Learn how to diagnose a completely dead smartphone using a DC power supply. This method helps identify short circuits, leakage issues, and normal boot behavior through current consumption analysis.
1. What is DC Power Supply Testing?
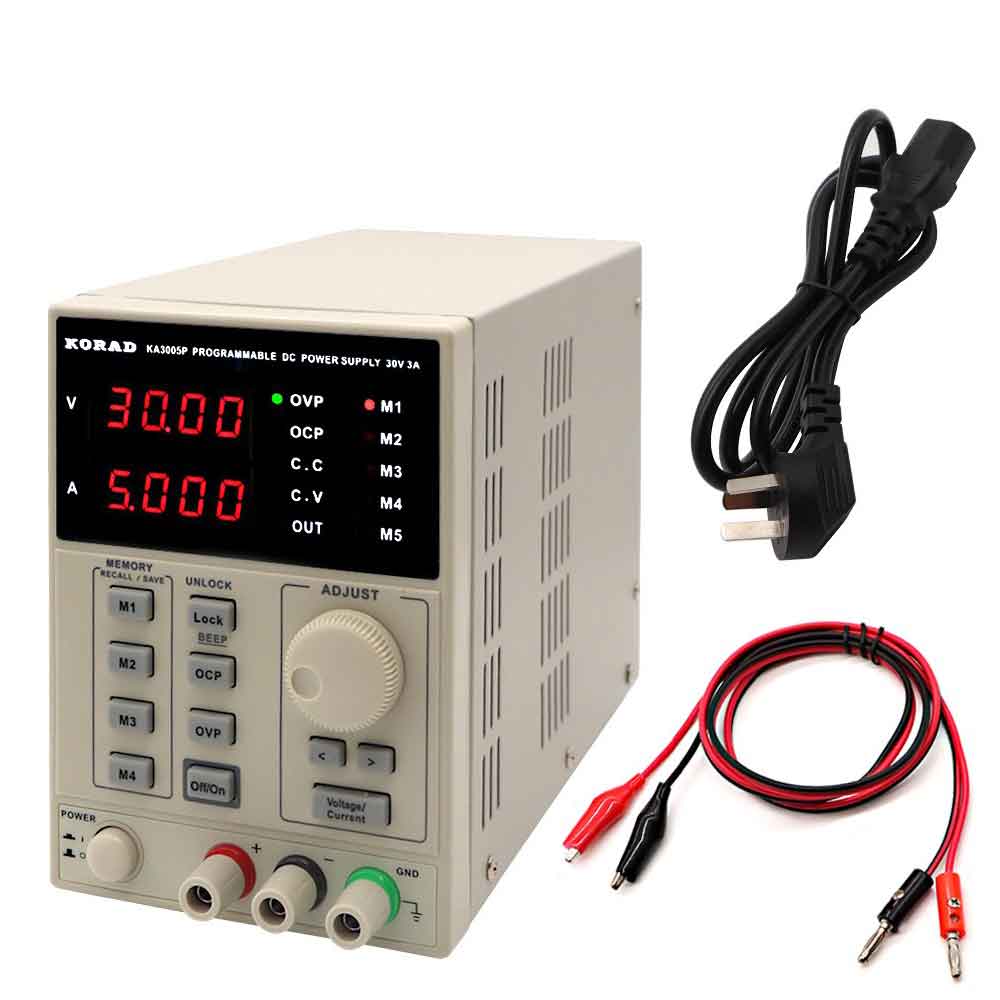
A DC power supply replaces the battery and provides controlled voltage and current to the smartphone motherboard. By observing current readings, technicians can quickly identify board-level faults.
- • Voltage range: 0V – 31V
- • Current limit: 0A – 10A
- • Over-voltage protection
- • Over-current protection
- • Multiple output channels
2. How to Connect DC Power Supply
- 1. Set voltage to 4.2V (Android / iOS)
- 2. Set current limit to 3A (Android) or 5A (iPhone)
- 3. Connect boot cable to battery connector
- 4. Press power key and observe current consumption
3. Short Circuit Checking
If current instantly rises to a high value without pressing the power button, it usually indicates a short circuit on the main power line.
- • Ensure boot cable polarity is correct
- • Instant 2A+ current → Hard short
- • Board may heat quickly
- • Possible faulty capacitor or PMIC
- • Use thermal camera or IPA method to locate
4. Leakage Current Checking
Leakage occurs when current flows even without pressing the power button, but not at a full short level.
- • Idle current: 0.02A – 0.15A
- • Device does not boot
- • Possible partial short or IC leakage
- • Check power IC and surrounding capacitors
5. Normal Boot Current Readings
| Current Reading | Condition | Diagnosis |
|---|---|---|
| 0.00A | No reaction | Open circuit / power key issue |
| 0.02A – 0.05A | Low current stuck | CPU not starting |
| 0.15A – 0.40A | Boot attempt | Normal boot sequence |
| 0.80A – 1.50A | Display ON | System loading |
Professional Tips
- • Always start with a low current limit
- • Never increase voltage above 4.2V
- • Observe current patterns carefully
- • Combine with multimeter resistance checks